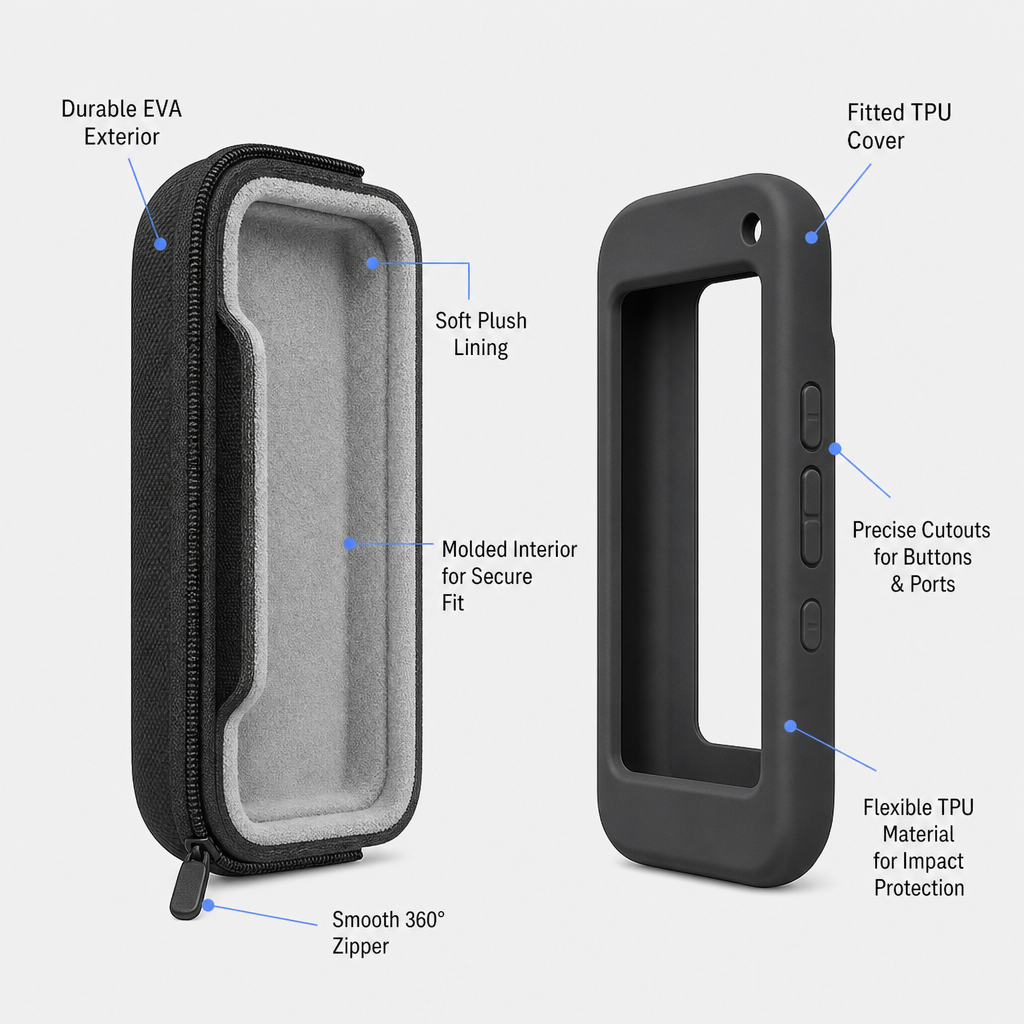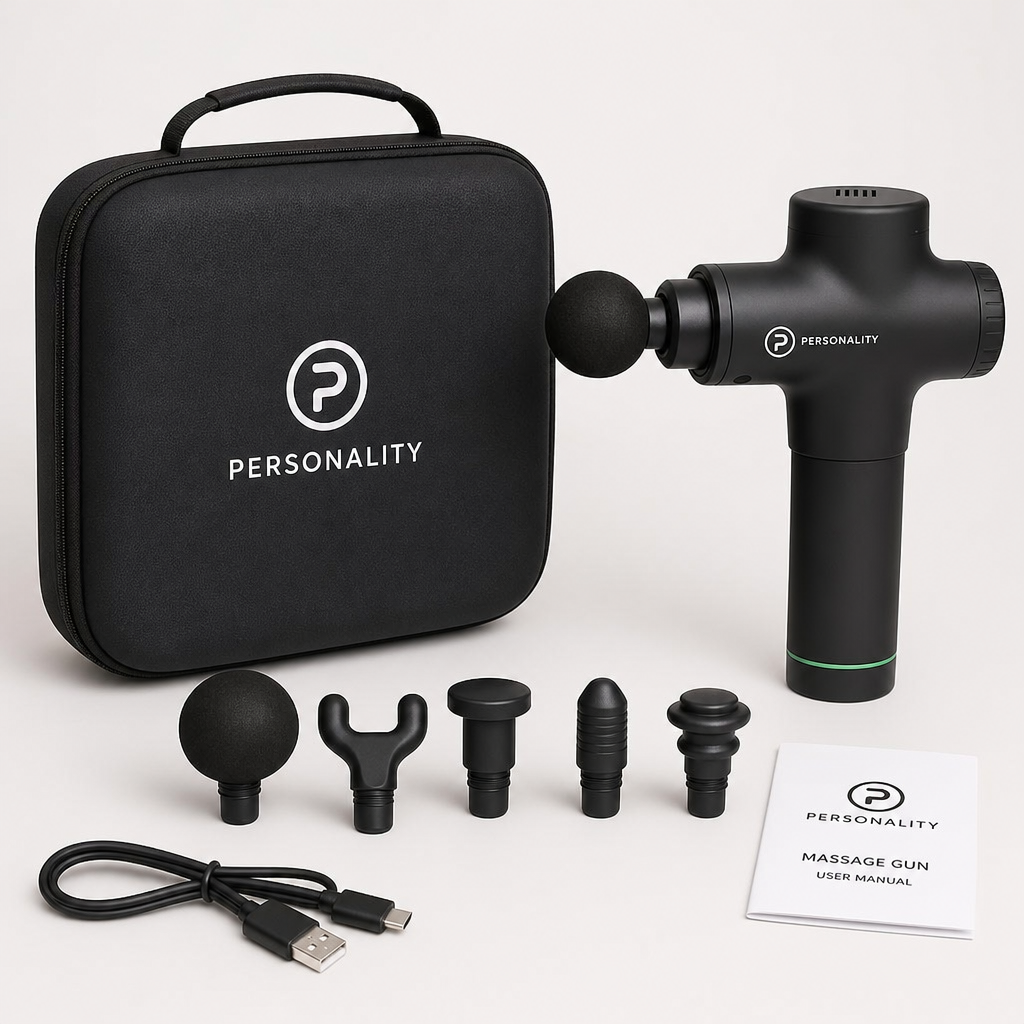
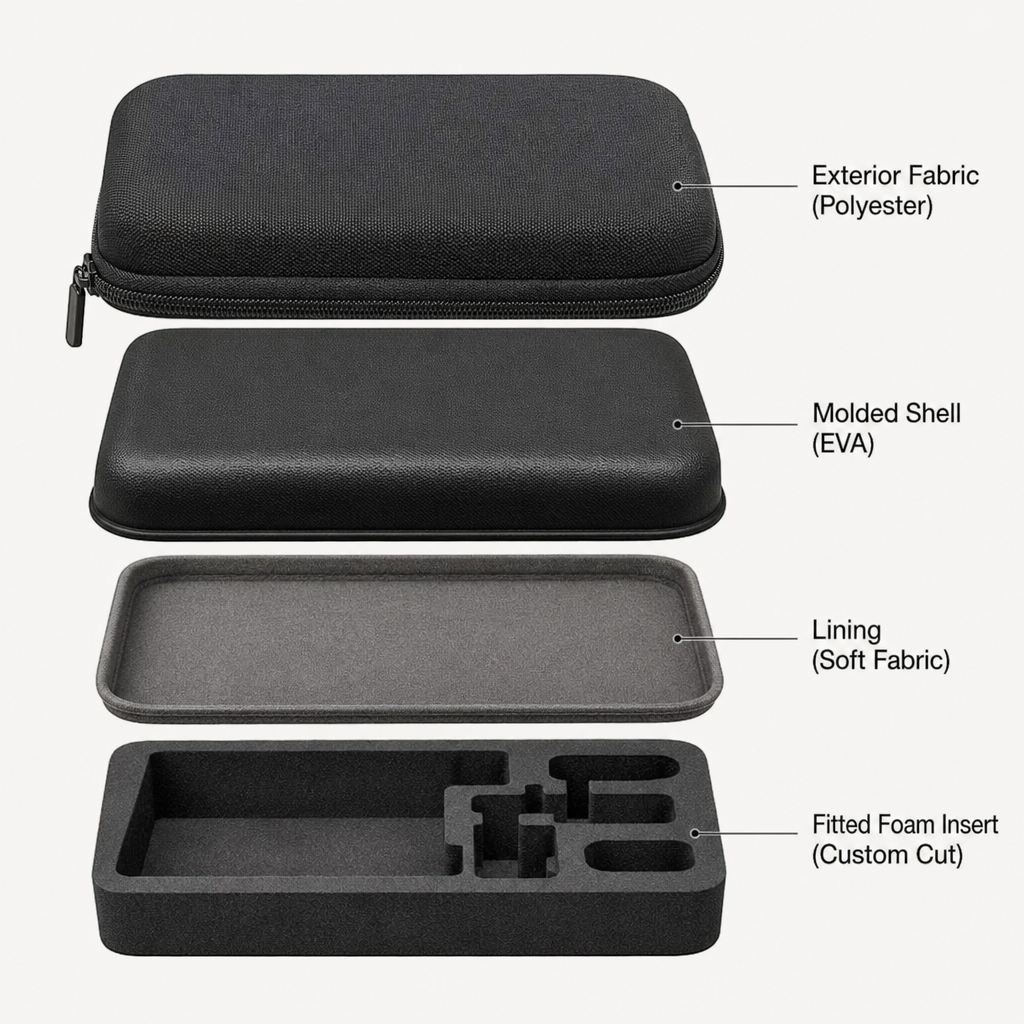
Explore the seamless journey of Custom EVA Case Manufacturing: From Concept to Mass Production. Learn key steps in design, sampling, and quality control for custom protective cases.
Custom EVA Case Manufacturing From Concept to Mass Production
Custom EVA case manufacturing turns a product’s protection, storage, and presentation requirements into a repeatable production specification. Moving from concept to mass production involves defining the brief, developing the shell and interior, approving samples, and controlling manufacturing quality. This article explains the decisions buyers and product teams should make at each stage—and how to avoid approving a case that looks right but performs poorly.
How does custom EVA case manufacturing work?
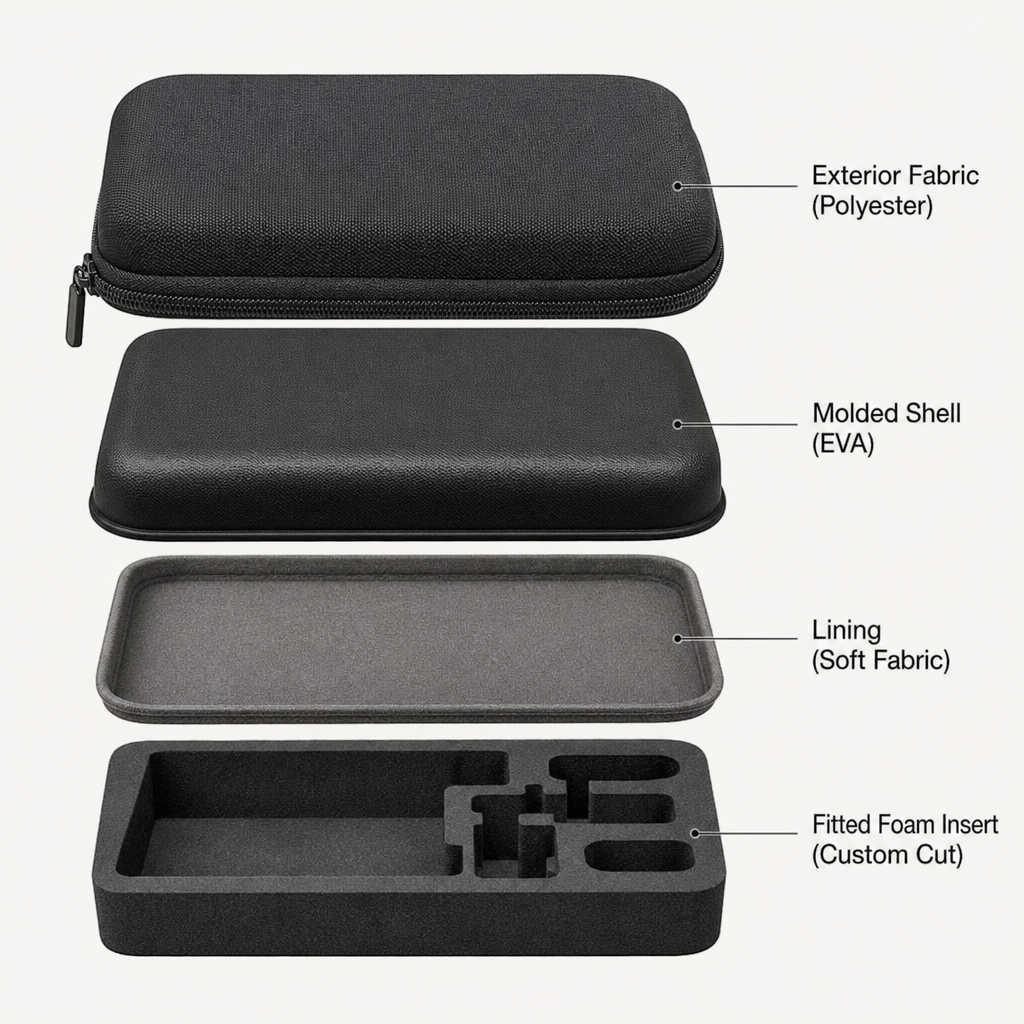
Custom EVA case manufacturing typically combines a thermoformed ethylene-vinyl acetate foam shell with exterior facing, interior lining, a closure, and product-specific organization. The manufacturer develops the shape around the intended contents, then agrees on materials, tooling, assembly methods, and acceptance checks before production. The finished case must be assessed as a complete assembly, not simply as a piece of foam.
For buyers, the useful distinction is between designing a shape and defining a product. A rendering communicates appearance; a manufacturing specification must also explain fit, materials, operation, and acceptable variation. Treat those as separate deliverables during development.
Think of the process as a sequence of approval gates. First confirm the requirements, then the design, then the physical sample, and finally production readiness. Avoid treating approval of an attractive rendering as permission to manufacture the full order.
Start with a brief that describes real use
Begin with what the case must carry and how people will use it. FFG Industrial’s development guidance calls for contents, dimensions, drawings or references, quantities, timing, and requirements to validate. Pelican likewise accepts pocket dimensions, equipment CAD files, physical samples, or customer-created foam CAD when developing interiors.
Build a project brief that answers these practical questions:
- Contents: List the main product, cables, adapters, spare parts, and documentation. Mark optional accessories separately.
- Product information: Supply current drawings, dimensions, weight, and a representative physical sample where possible.
- Use environment: Explain whether the case supports everyday storage, field visits, demonstrations, or travel inside other luggage.
- Handling: Describe who opens it, how often, and whether gloves or restricted workspace affect access.
- Presentation: Provide artwork, color references, logo placement, and packaging expectations.
- Commercial requirements: State the initial order, likely reorder pattern, target budget, and required delivery destination.
Separate essential requirements from preferences. A secure compartment for a fragile instrument may be essential; a particular decorative texture may be negotiable. That distinction gives the manufacturer room to suggest workable alternatives without compromising the case’s purpose.
Also identify who can approve changes. Design, procurement, and marketing teams should resolve conflicting priorities before the supplier receives contradictory instructions.
Translate the brief into practical EVA case design
EVA case design needs to address the shell, textiles, closure, and interior together. The casing’s outline, depth, rim, finish, and connection points are project-specific, while its integration into a bag or pouch also depends on surrounding textile construction and attachment interfaces. Material grade, density, thickness, and finished dimensions therefore belong in the development specification.
Review the design in its loaded state. Ask for drawings that show the product, accessories, insert, and lid contents together—not just separate views of an empty case. Include the intended storage orientation so reviewers can assess what happens when the user closes and carries it.
Specify materials rather than relying on labels
Manufacturers offer combinations of EVA foam, exterior fabrics or synthetic leather, interior linings, and retaining accessories. Printed decoration and molded-in debossing may also follow different production routes. Ask the supplier to identify the proposed construction and decoration method rather than quoting only a general description such as “premium EVA case.”
Request material swatches alongside the proposed specification. Compare texture, appearance, and handling against your intended use, then record the approved selections. If cleaning matters, provide the actual cleaning method and ask the manufacturer to validate compatibility rather than assuming every finish behaves alike.
Design custom foam inserts around support and access
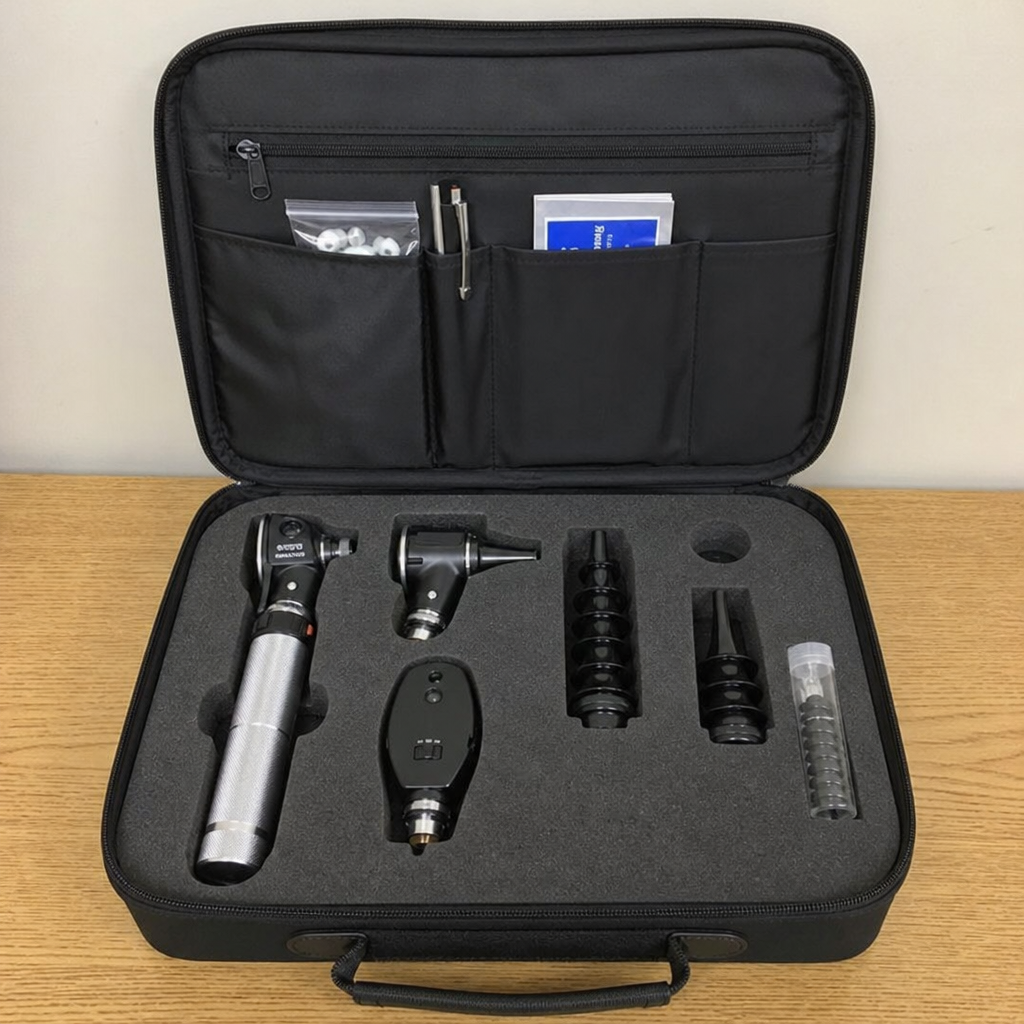
Custom foam inserts must do more than trace the product’s outline. Pelican’s foam guidance emphasizes supporting equipment weight while cushioning sensitive components; it also distinguishes foam types with different properties, including antistatic options. Foam selection should therefore follow the equipment and its protection requirements, not appearance alone.
During layout review, ask the designer to address:
- Contact areas: Identify where the product may be supported and which controls, connectors, or surfaces should remain unloaded.
- Removal access: Include a practical way to lift out the product without pulling on delicate parts.
- Accessory separation: Give cables and loose components defined locations away from vulnerable surfaces.
- Lid interaction: Check the complete packed arrangement before approving compartment depths.
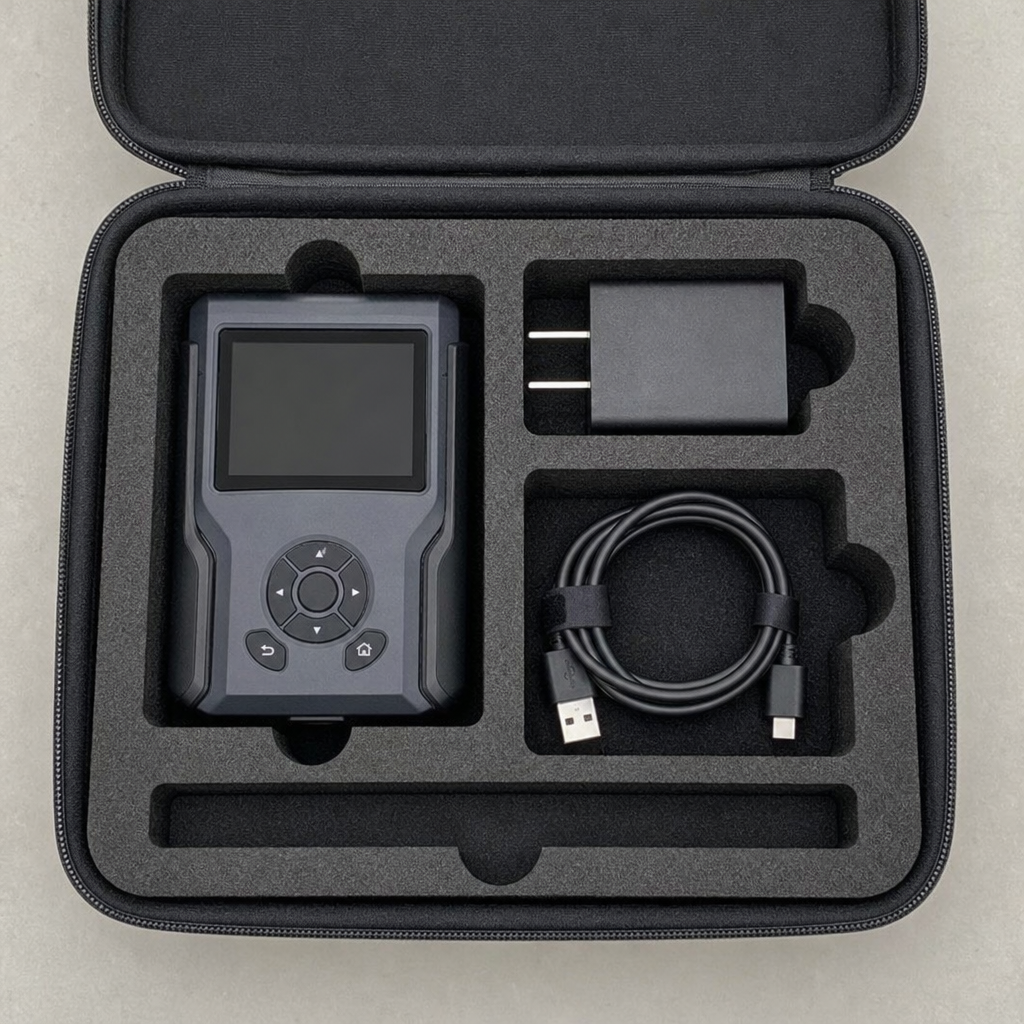
For example, review a handheld device with its charging cable packed exactly as instructed. Do not approve the interior using the device alone if customers will receive a complete kit.
From tooling to an assembled case
A typical thermoformed EVA case workflow includes preparing and cutting the material, applying relevant decoration, forming the shell, cooling and trimming it, and sewing the formed parts together with closures and other components. The precise sequence depends on construction and branding choices; a debossed feature formed by the mold follows a different route from separately applied decoration.
Use the following stages as checkpoints for supplier discussions, not as a universal factory instruction sheet:
- Confirm the tooling scope. Identify which shell shapes, relief details, and other features require dedicated tooling. Ask what remains adjustable after tooling approval.
- Approve the material combination. Record the shell material, exterior facing, lining, color references, and permitted alternatives before sample manufacture.
- Review formed shells. Examine the actual contour and appearance against the approved drawing before judging the completed case.
- Check assembly. Inspect the zipper path, seams, handles, pockets, and retaining features in the finished sample.
- Confirm the interior. Fit every item, close the case, carry it, and reopen it using the intended packing arrangement.
Ask the manufacturer to explain any difference between sample-making and planned production methods. If a sample includes temporary components or hand-finished details, record them explicitly and require confirmation of the production equivalent.
This is also the point to settle tooling ownership, storage, maintenance responsibilities, and access for future orders. Put those terms in the purchasing agreement rather than relying on an informal conversation.
What should you check before approving a prototype?
Before approving a prototype, check the complete case with representative contents against written fit, operation, appearance, and protection requirements. FFG’s development guidance specifically calls for assessing fit, closure operation, and product-specific protection or durability criteria before manufacturing. Approval should reflect those checks, not a visual inspection alone.
Use a repeatable review routine. Have someone unfamiliar with the layout unpack and repack the kit, then note where they hesitate or need instructions. Ask whether the arrangement makes missing accessories obvious and whether the intended opening direction is clear.
A useful approval checklist includes:
- Every required item fits in its designated position.
- The product can be inserted and removed without using fragile features as handles.
- The closure operates with the full kit packed as instructed.
- Lid storage does not create unwanted contact with the main product.
- Handles and retaining features work in the intended carrying orientation.
- Artwork, colors, textures, and visible workmanship match agreed references.
- Identified defects and requested changes have written dispositions.
Agree on any performance testing before sample approval. Protective-case testing can include drop, vibration, immersion, thermal, and leak assessments, but the relevant selection depends on the application. Pelican’s custom-case documentation describes laboratory testing alongside engineered case solutions.
Specify the test configuration, contents, procedure, and pass criteria with the manufacturer or laboratory. If you intend to market a particular protection claim, require evidence for the finished case in its relevant configuration. Do not substitute an informal demonstration for agreed validation.
What determines cost and lead time?
For budgeting, request separate figures for development, tooling, samples, unit production, packaging, and delivery. For scheduling, ask the supplier to identify each approval and procurement milestone rather than offering only one overall completion date. This gives your team a clearer basis for comparing proposals and managing changes.
Use the same specification when requesting quotes for custom protective cases. Otherwise, one proposal may include fitted inserts and retail packaging while another covers only the shell and basic assembly. Ask suppliers to state inclusions, exclusions, assumptions, minimum order quantities, and the effect of different order volumes.
If a proposal exceeds the budget, request costed alternatives:
- Compare an existing shell option with a fully bespoke shape, if either could meet the brief.
- Ask whether standard fabrics, colors, closures, or hardware are acceptable substitutes.
- Review whether the interior needs separate compartments for every accessory.
- Compare branding methods against the same approved appearance requirements.
- Request packaging alternatives without removing necessary product protection.
Evaluate each change against function, not just the revised unit price. Keep a record of what was simplified so later reviewers do not unknowingly restore features that were deliberately removed.
For timing, distinguish the sample date, approval deadline, production completion, dispatch, and expected arrival. Build your launch plan around the milestone you actually need: inventory available for use, not merely goods leaving the factory.
Make mass production repeatable
Before releasing the full order, assemble an approved production package. Include drawings, material selections, artwork, component specifications, packing instructions, acceptance criteria, and a clearly identified reference sample. Ask both parties to acknowledge the same revision so the factory and buyer are not working from different files.
Where practical, request a pilot run or an agreed early-production review. Use it to check that production output matches the approved sample, then resolve deviations before authorizing the remaining quantity. Specify who has authority to stop production and how corrective actions will be documented.
Organize inspection around three checkpoints:
- Incoming materials: Verify that materials and purchased components match approved requirements, with documentation where specified.
- In-process work: Review agreed dimensions, shell appearance, assembly workmanship, and interior installation before the batch is complete.
- Finished goods: Check representative loaded fit, closure operation, branding, cleanliness, quantity, and final packing against the inspection plan.
Agree on the inspection method and sampling approach in advance. Define examples of unacceptable defects and distinguish cosmetic issues from failures that affect use. When a discrepancy appears, ask for its scope, proposed correction, and verification—not simply an assurance that the next batch will improve.
Finally, establish change control for reorders. Require written approval before substituting materials, altering dimensions, moving artwork, or changing components. Preserve revision history, inspection records, and approved references so a later order can be evaluated against the same expectations.
Build protection into the process
Effective custom case solutions begin with clear requirements and end with evidence that production matches them. Give equal attention to the shell, interior, closure, and packed user experience; none should be approved in isolation.
Start by preparing a complete product kit, a prioritized brief, and measurable acceptance criteria. Then ask prospective manufacturers to explain their design, sampling, testing, and production-control approach. That conversation provides a stronger foundation than choosing from a rendering or comparing unit prices alone.