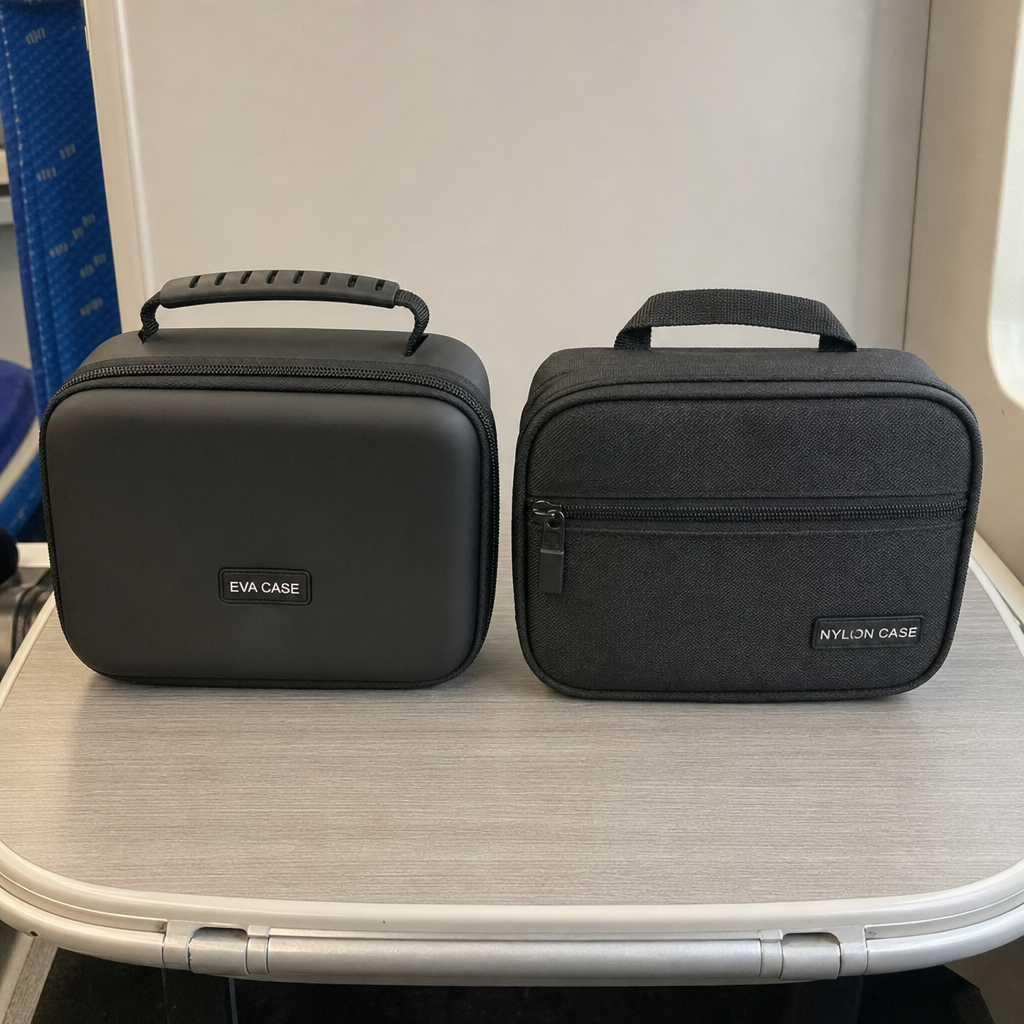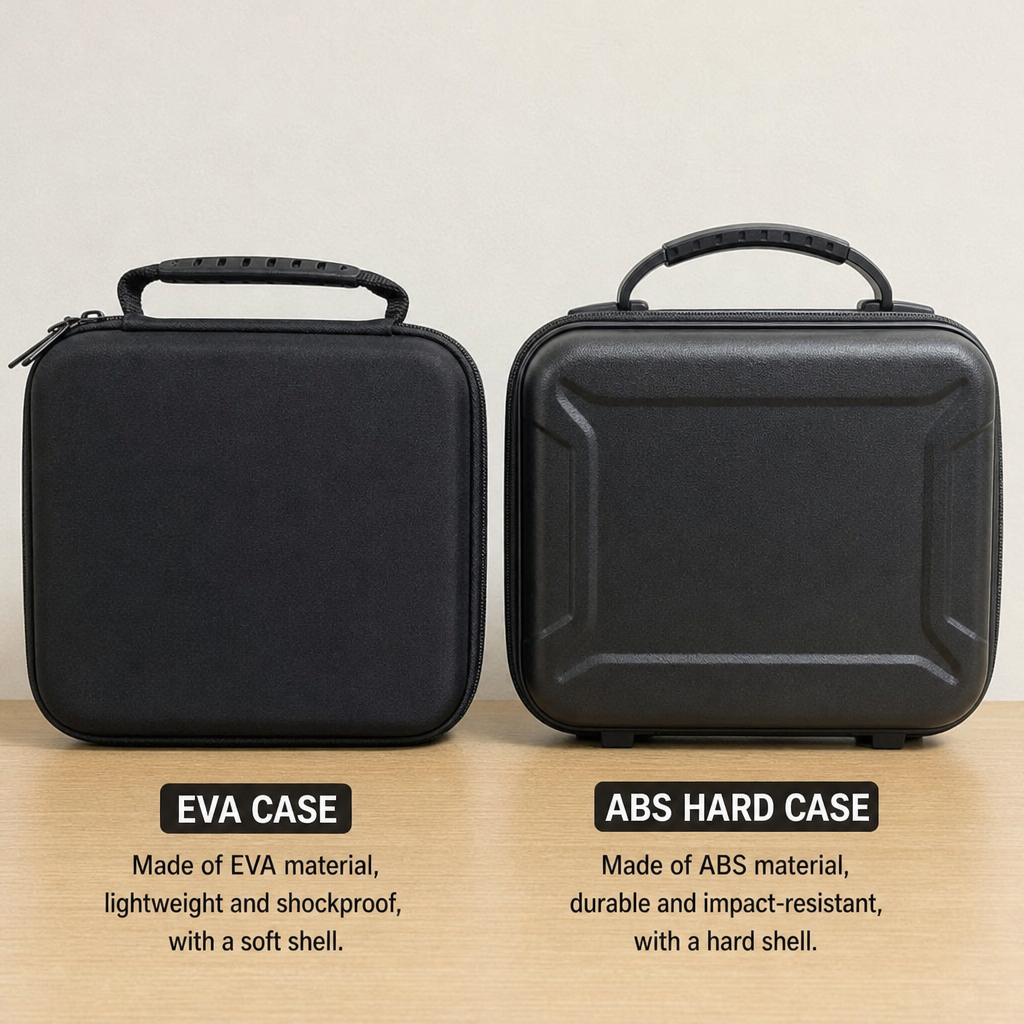
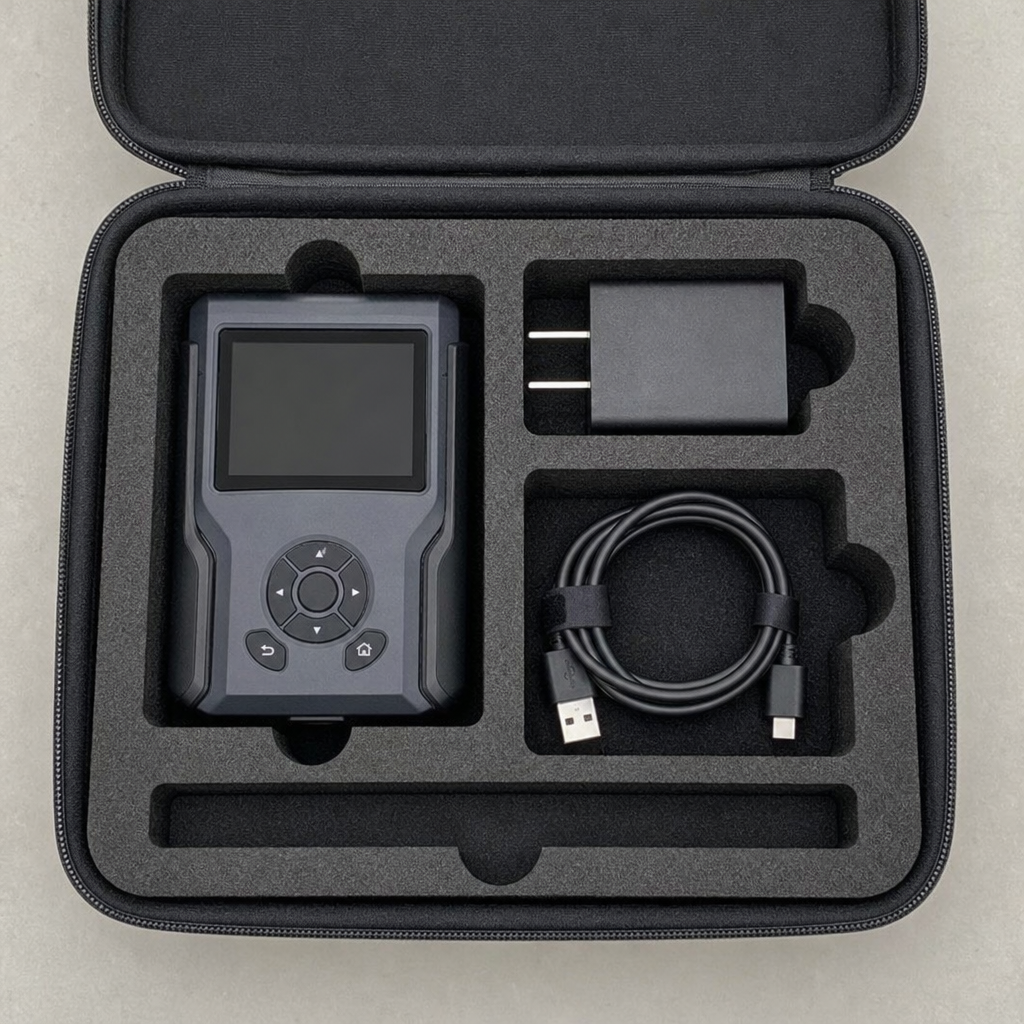
Discover expert tips on how to design a custom EVA case for your product, focusing on protection, material choices, and practical design strategies.
How to Design a Custom EVA Case for Your Product
Designing a custom EVA case for your product starts with the equipment, its accessories, and the conditions it needs to withstand—not the exterior styling. A successful design brings together a shaped shell, a supportive interior, and convenient access. This article walks through the decisions to resolve before tooling, the details to test in a prototype, and the specifications to approve before production.
What should you define before designing a custom EVA case?
Before designing a custom EVA case, define what it will carry, how people will use it, and what protection it must provide. Give the manufacturer product dimensions or samples, an accessory list, intended carrying conditions, and project requirements. These inputs establish the starting point for material selection, interior layout, hardware, and manufacturing development.
Write a short design brief that answers these points:
- Contents: Identify the main product, cables, chargers, attachments, and optional accessories. Separate standard contents from future possibilities.
- Handling: Describe whether the case travels inside another bag, moves between job sites, or serves mainly as a presentation kit.
- Protection priorities: Identify fragile controls, exposed connectors, delicate surfaces, and areas that should not receive pressure.
- User needs: Explain whether users need quick access, visible organization, removable inserts, or space for documentation.
- Commercial constraints: Provide expected quantities, target budget, delivery milestones, and branding requirements.
Rank competing priorities rather than labeling everything essential. If compact size matters more than accommodating every optional accessory, say so. A clear trade-off gives the supplier something useful to design around instead of an impossible wish list.
Measure the complete kit and plan the layout
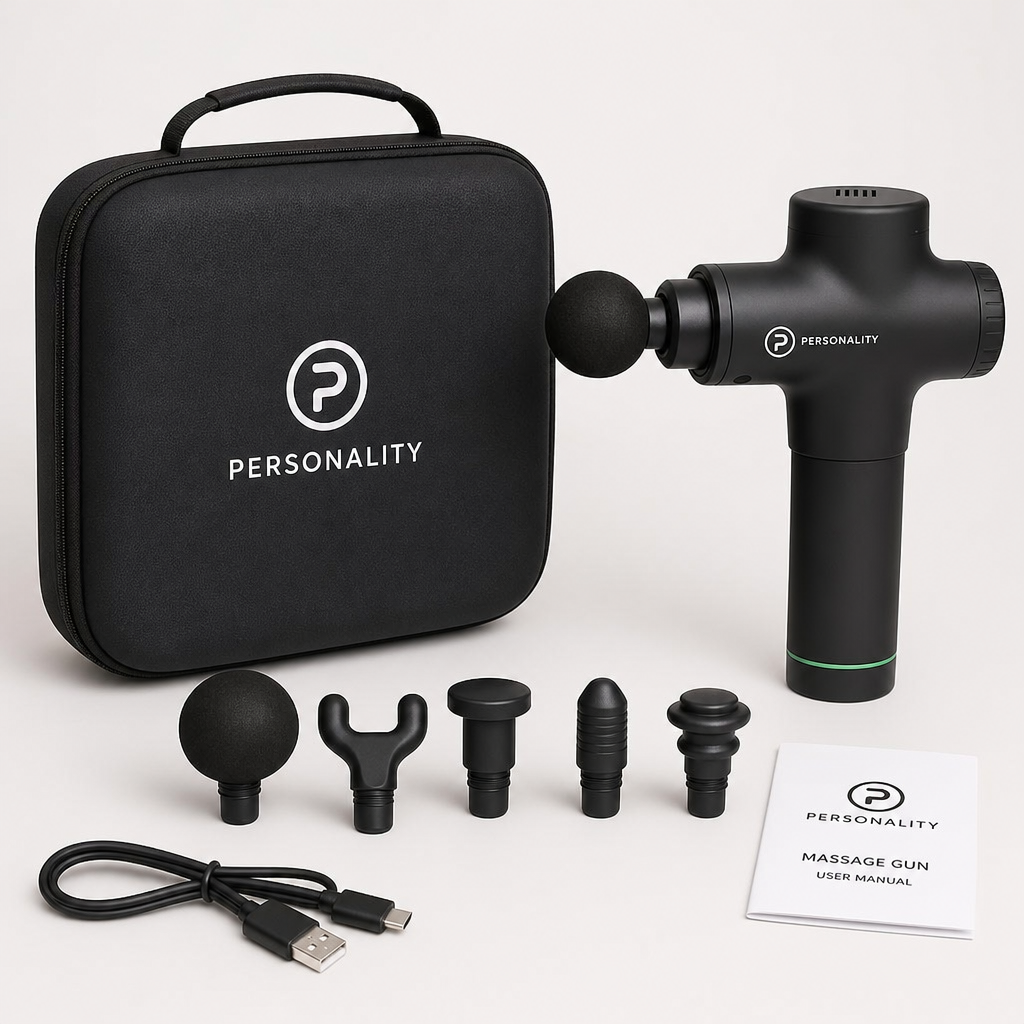
Start with the product in its actual storage configuration. Include attached guards, folded handles, fitted covers, and any components that remain connected during transport. Accurate drawings help, but a physical product sample can also support development when finished CAD files are unavailable.
Record each item’s length, width, height, and orientation. Mark sensitive areas directly on photographs or drawings. Distinguish dimensions that are fixed from details still subject to a product revision; otherwise, you risk approving a case around an outdated version.
Build a full-size layout before settling on the exterior dimensions. Use paper outlines or a simple mockup to compare arrangements. Put frequently used components where users can reach them without unloading the entire kit, and check whether cables can be packed without awkward bending.
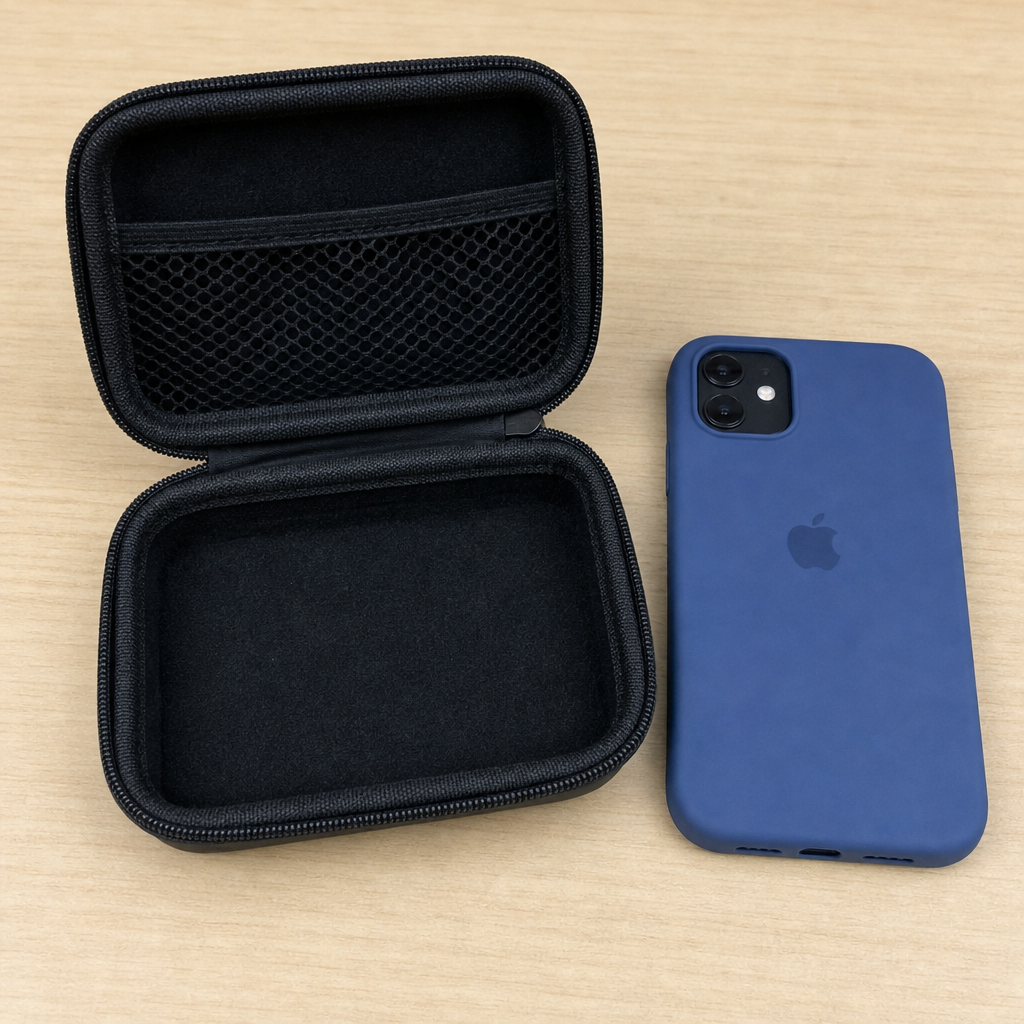
Do not treat the external case dimensions as usable interior space. Shell thickness, lining, corner geometry, zipper areas, and lid pockets all affect the room available for an insert and its contents. Review the finished internal envelope with the manufacturer before approving cavity dimensions.
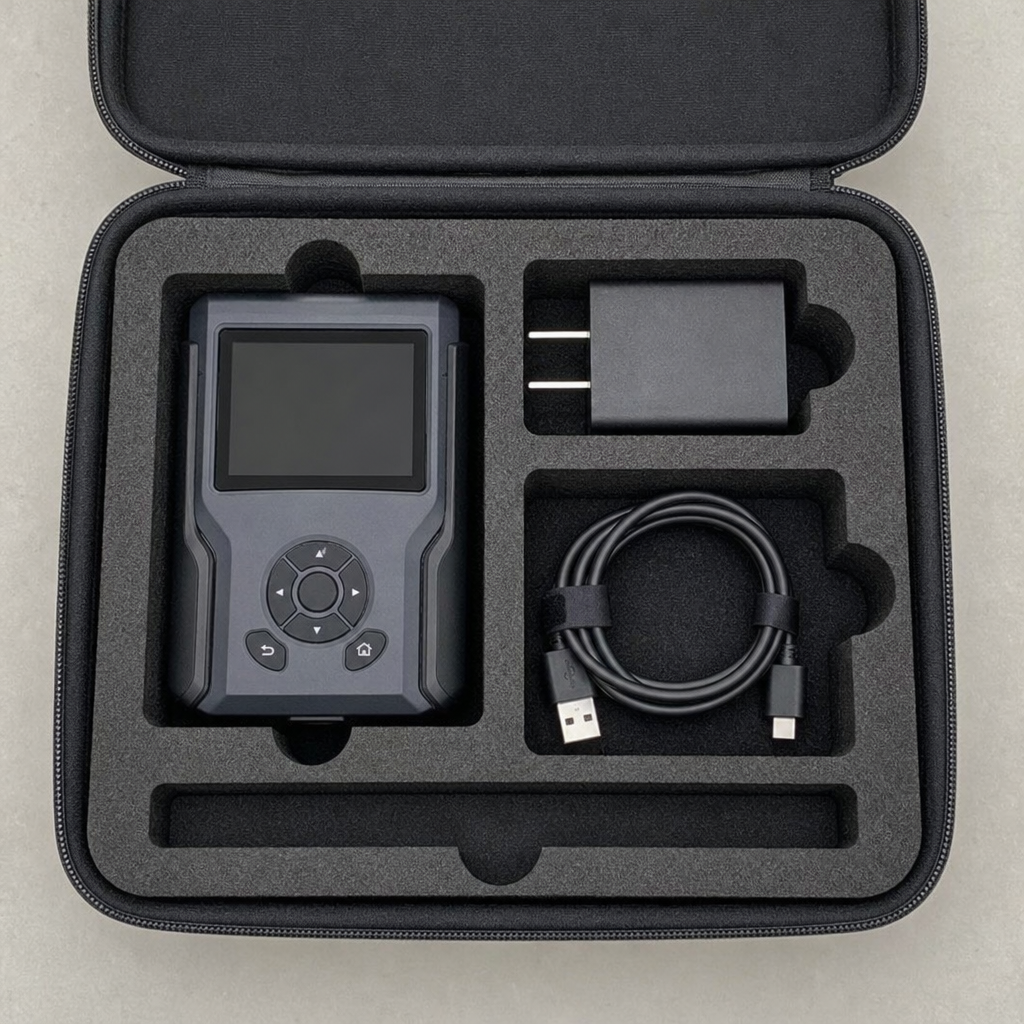
For example, a handheld instrument and charger might fit side by side, but the layout is incomplete until someone can comfortably remove both. Draw the finger-access areas as deliberately as the product outlines.
How do you choose the shell and interior materials?
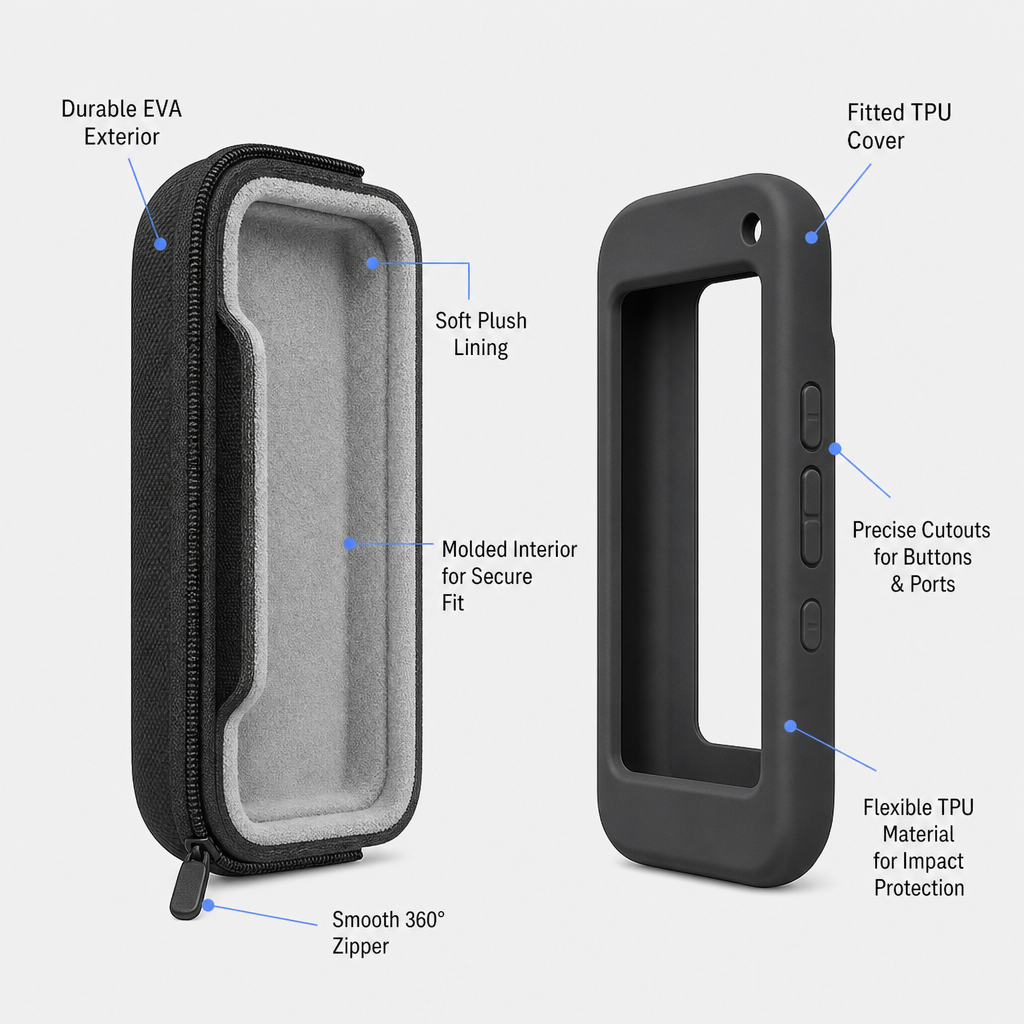
Choose shell and interior materials against the intended handling conditions, product sensitivity, and desired user experience. Custom EVA cases commonly combine a molded EVA structure with an exterior facing and an inner lining. Treat those layers as a coordinated construction, rather than choosing each material independently for its appearance.
Match the shell construction to the application
Thermoforming uses heat and tooling to shape EVA into case components. The geometry, material, textile facing, opening, and connection to the rest of the case need to be developed together. Ask the manufacturer to review those relationships before you commit to a distinctive silhouette.
Compare physical material samples whenever possible. Describe the feel you want—flexible, supportive, smooth, or textured—but ask the supplier to translate those preferences into a documented specification. Avoid assuming that a harder-feeling sample automatically meets your protection requirements; make performance testing part of approval.
Select the interior around product contact
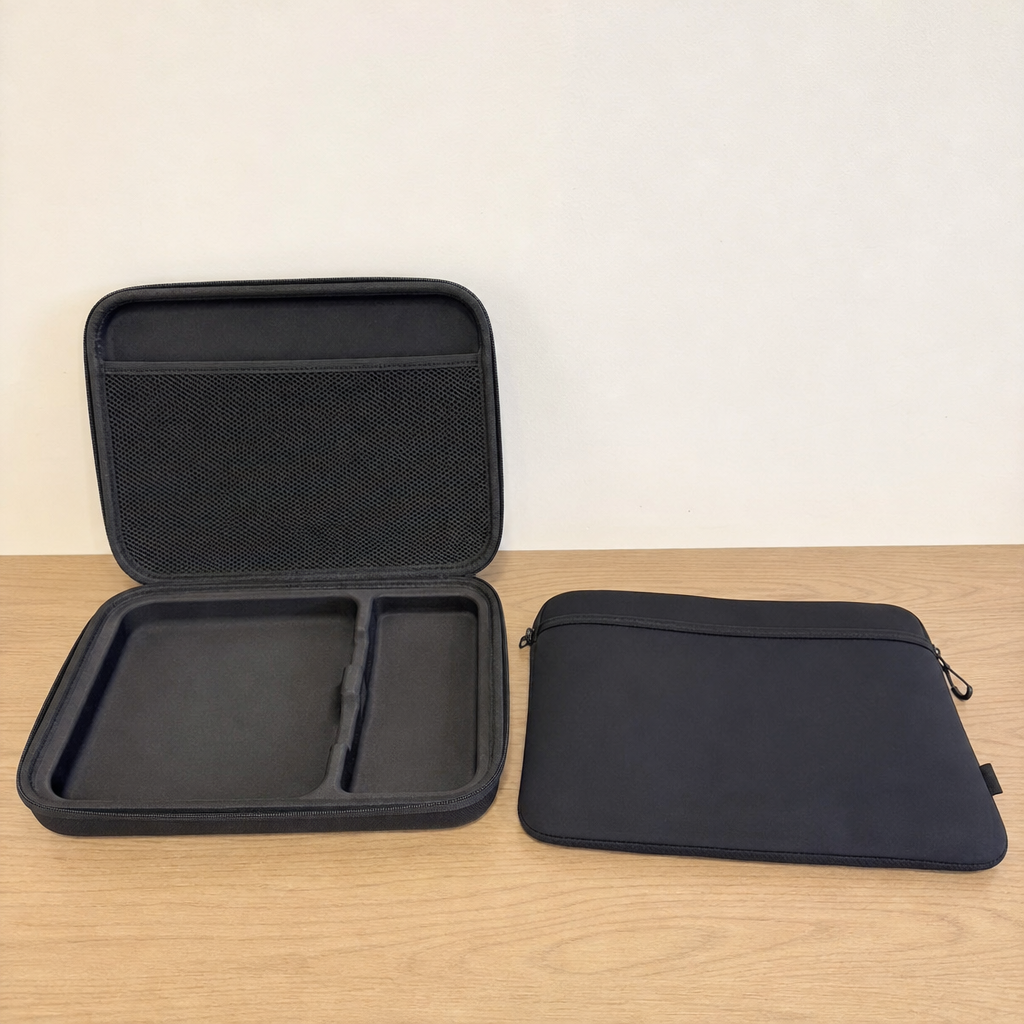
Interior options can include cut foam, molded supports, divider panels, straps, and lining fabrics. Their suitability depends on the product layout and how you want users to load and remove the contents. Ask for samples showing the proposed construction rather than choosing from a material name alone.
The terms also matter when requesting quotations. Custom foam cases may describe cases with shaped foam inserts, while an EVA shell refers to the formed outer structure. Specify both the shell and the insert so suppliers are quoting the same solution.
Design the insert for support and easy removal
A useful insert must hold the equipment in its intended position without making removal frustrating. Validate the cavities using the real product, accessories, and finished shell. Check that insertion does not require unreasonable force and that repeated removal does not damage narrow foam walls or pull the insert out of position.
Use the following review points during custom case design:
- Support locations: Mark where the product should rest and which delicate features need clearance.
- Removal access: Add finger recesses or another practical lifting method where users cannot grip the product naturally.
- Accessory separation: Give loose components defined locations rather than leaving them beside vulnerable surfaces.
- Lid interaction: Check the fully packed case, including pockets, to confirm that closing the lid does not create unwanted pressure.
- Insert stability: Confirm that the insert stays seated when the product is removed and when the loaded case changes orientation.
Have several people load and unload the prototype without coaching. Watch where they hesitate, grip the wrong area, or place accessories incorrectly. Treat those observations as design feedback, not simply user error.
If the product range may change, discuss a shared shell with interchangeable inserts. Ask the supplier to compare that option with separate case designs, including the tooling, assembly, and inventory implications. Keep flexibility purposeful: reserving space for unspecified future accessories should not undermine the fit of the current kit.
Make closures, handles, and branding work together
Hardware deserves the same attention as the shell. Select carrying options around the fully loaded kit, including chargers, tools, and accessories—not the empty case. Review opening direction, zipper access, handle position, and strap preferences against the way users will actually carry and open it.
During sample review, carry the case at its intended load. Open it on the kinds of surfaces where it will be used, and check whether the handle or straps interfere with access. If gloves are part of the intended workflow, include them in the trial rather than guessing whether the zipper pulls are convenient.
Branding can include printed graphics, embossed details, molded-rubber logos, or embroidered labels, depending on the proposed construction. Place these elements intentionally and request approval samples of the selected treatment. A logo mockup communicates the idea, but a finished sample shows how it reads on the actual surface.
Keep the hierarchy simple: recognizable branding, useful product identification, and restrained decoration. If the case supports several configurations, consider how users will distinguish versions without opening every case.
What should you test before approving production?
Before approving production, test the complete loaded case for fit, access, closure, carrying comfort, and the protection requirements established in your brief. Review a pre-production sample made with the intended materials, hardware, colors, and branding. An early functional prototype can resolve layout questions, but it should not substitute for approval of the final construction.
Create a written checklist and record results rather than relying on a general impression:
- Load every item. Include all supplied accessories and confirm that the packing arrangement matches the instructions or intended workflow.
- Check closure. Close the lid without forcing it, then investigate any interference, bulging, or unusual zipper resistance.
- Repeat access tasks. Remove and replace the product several times, watching for awkward grip points, shifting inserts, or damaged cavity edges.
- Carry the complete kit. Evaluate balance, handle comfort, strap adjustment, and whether the contents remain organized.
- Review finished details. Inspect seams, lining attachment, logo placement, pocket construction, and overall appearance against the specification.
- Verify required protection. Agree on suitable test conditions, sample quantities, and pass/fail criteria with the supplier or testing provider before testing begins.
For protection testing, define the scenario rather than asking for a vaguely “drop-proof” case. State the intended load, relevant handling events, and what must remain undamaged or functional afterward. Ask how the proposed test represents those conditions.
Keep a dated issue log with photographs and drawing references. After revisions, recheck the affected features and their interactions—for example, whether a deeper insert changes lid clearance. Approve only after outstanding issues have a documented resolution.
Prepare a clear manufacturing specification
EVA case manufacturing involves more than shaping the shell. Development can include drawings, material confirmation, tooling, sampling, trimming, hardware assembly, and final inspection. Confirm the supplier’s actual process and approval stages rather than assuming every manufacturer follows the same sequence.
Your production package should bring the agreed details into one controlled set of documents:
- Drawings: External dimensions, usable internal geometry, insert layout, critical clearances, and revision identifiers.
- Materials: Approved shell construction, exterior facing, lining, insert material, and physical reference samples.
- Components: Zippers, pulls, handles, straps, pockets, and attachment details.
- Appearance: Color references, logo artwork, placement, and approved decoration samples.
- Acceptance: Inspection points, agreed tolerances, functional checks, and the approved pre-production reference.
Ask the manufacturer which dimensions are critical and which tolerances are realistic for the proposed construction. Record those agreements on the relevant drawings rather than applying one blanket tolerance to everything. Also document how substitutions and design changes require approval.
Retain an approved sample and make sure the supplier retains a matching reference. Photographs are useful for communication, but they should supplement—not replace—the material specifications, drawings, and physical sample. The objective is repeatable production, not merely one attractive prototype.
Compare quotations without losing the design intent
Request quotations against the same specification and separate the decisions that affect your purchase. Ask suppliers to identify tooling, sampling, unit production, packaging, and delivery charges where applicable. Confirm what is included, what remains provisional, and what would trigger a revised quotation.
Before choosing a supplier, clarify tooling ownership, storage arrangements, revision charges, sample approval stages, and responsibility for inspection. Ask whether an existing shell could meet the brief before commissioning a new shape. Evaluate any proposed alternative against the same fit, usability, and protection requirements.
If the quotation exceeds budget, request specific alternatives rather than an unexplained lower price. Compare simpler branding, fewer pockets, a revised layout, or different carrying hardware. Keep the features that protect the product and make daily use practical; remove complexity that has no clear purpose.
Build around the product, then refine the presentation
Effective EVA case design starts with a complete brief and ends with an approved, repeatable specification. Resolve the layout, materials, access, and testing before treating the appearance as finished. Your next step is straightforward: assemble the complete product kit, document its requirements, and use that information to brief a manufacturer.